U.S. Olympic Weightlifting Team Coach 1980, 1988 & 1992 Author of Olympic-style Weightlifting for Beginner & Intermediate Weightlifters Manual and DVD
The feet are sort of the unsung bodypart of weightlifting and strength athletics. The back, knees, shoulders, arms and legs get all the attention. So, let me talk about the feet as they are used in Olympic-style weightlifting.
When lifting a barbell, the first thing you do is place your feet directly under the bar. Many beginners will start with the bar in front of the toes—this is quite common and very incorrect. Stand with your feet directly under the bar so that when you bend down, grab the bar and get set, the bar is barely touching your shins (or at least a hair-width away). You don't want to touch or scrape your shins as you begin the lift, so the bar is close but it doesn't touch.
Your feet should be hip-width apart—beginners usually want to go too wide. The reason you start with the hip-width stance is because you can generate more force against the floor than with a wide stance. To do a little test, jump up and reach with the hip-width stance (the feet don't have to be exactly hip-width, but close) and then try it with a wide stance. Another test is to jump up and down three or four times and see where your feet naturally want to land and take off again. This jumping up and down will also answer the question of where the toes point, straight ahead or turned out. Back to the starting stance: feet are directly under the bar, hip-width apart, with the toes pointing out slightly; your weight is evenly distributed beteween your toes, balls of the feet and heels. There will be individual differences, but the basics are the same.
As you pull up on the bar, your weight shifts slightly back to the heels as the bar passes the knees, then it shifts back to even distribution between toes, balls, and heels. When the bar is at the upper thigh, pull up the bar with complete extension of the ankles, knees, hips, and upper body with a shrug of the shoulders. At this point you should be on your tiptoes. Move the feet to a shoulder-width position as you catch or receive the bar overhead for the snatch, or at the shoulders for the clean. There are two methods for the feet moving from the hip-width to the shoulder-width positions: one is sliding and the other is jumping. Use whichever technique comes most naturally—sliding versus jumping is a topic for discussion another time.
So, the feet go from hip-width in the pull to shoulder-width in the catch or receiving position. A word of caution here: beginners will usually jump too wide, which is unstable and puts too much stress on the hips, groin, knees, and ankles. Positioning your feet outside your shoulders is too wide so from the very beginning, drill and train the feet not to go outside the shoulders. I do want to stress if you jump your feet from hip-width to shoulder-width, don't jump too high, doing what is called a "donkey kick." That is very inefficient because the higher you jump, the longer you are in the air and out of control of the weight, and when you land, the stomping of the feet can jar the body and cause you to miss the weight.
When standing from the squat, the feet don't move—they stay in the shoulder-width position until you get the down signal in the snatch. However, they do come back into the hip-width position for the jerk.
For the split jerk bring your feet back to the hip-width position and get set. As you dip for the jerk, keep your weight distributed on the feet evenly: toes, balls, and heels. Maintain this even distribution as you begin the drive up, but then go up on the balls of your feet and then the toes as the bar passes your face. Split your feet directly fore and aft as fast as possible. One foot goes forward approximately 1 foot and the other foot goes backward about 2 feet. Which foot goes forward and which one backward depends on you—practice alternating feet with the bar or light weights until you decide which one feels best. The front foot turns in slightly and the weight is evenly distrubted between the toes, balls, and heels. The weight of the back foot is on the balls and toes and it is pointing straight ahead. You recover by moving the front foot backward 6 inches and the back foot forward 12 inches, then front foot back another 6 inches and then the back foot forward 12 inches. Your feet should now be parallel and hip-width apart, with the barbell directly over your ears, shoulders, hips, knees, and ankles, and the weight distributed evenly on the toes, balls, and heels.
For push jerks the feet start at hip width and finish at shoulder width, just as in the power squat or clean.
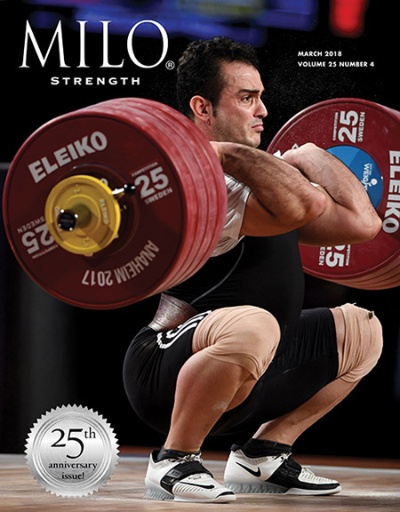
What about shoes? Beginners don't need them right away, but the special wieghtlifting shoes will become necessary, especially if you do squat snatches and cleans. Weightlifting shoes have a very solid sole and a slightly elevated heel made of very hard leather, or even wood in some brands. There is a strap that goes across the arch and top of the foot that secures the foot in the shoe so you won't slip around inside the shoe while lifting big weights. Tommy Kono helped design the very popular Adidas weightlifting shoe around 1970 when he was the national coach for Germany. Good, solid weightlifting shoes will really make a difference in your balance when in the squat position. It's one of those things that you will totally understand once you lift with them. If you look at pictures from the 1960s and earlier, you will notice that the squat lifters either have work boots or what look like dress shoes.
Lifting shoes aren't absolutely essential when learning the lifts. Mario Martinez did a 130-kg (286-lb.) snatch and 160-kg (352-lb.) clean and jerk as a 90-kg (198-lb.) lifter at 18 years of age in jogging shoes before he got his first pair of lifting shoes. If you are a raw beginner you don't have to run out and buy lifting shoes right away; however, when you want to purchase them, you will have to mail order lifting shoes, as your local sporting goods store won't have them in stock. I want to note here that Olympic-style weightlifters use a different shoe than the powerlifters, who use a very similar type of shoe for the squat, a jogging-type shoe for the bench press, and a gymnastic-type slipper for the deadlift.
There you have it, the basics of the feet. There are certainly many individual variations, but I wanted to address the basic, most widely-used technique and foot positions. The feet are referred to as your "area of base" because you must have a solid base in order to lift and hold heavy weights overhead. It's important to remember that the bar should never be outside of the area of base, it must alway be over your feet!